Installing Proxmox VE on Dell PowerEdge R630 – Step-by-Step Guide
🖥 Introduction
This guide provides a detailed, step-by-step walkthrough for installing Proxmox Virtual Environment (VE) on a Dell PowerEdge R630, a powerful 1U rack server suitable for virtualization workloads, homelabs, or enterprise environments.
🔧 About the Dell PowerEdge R630
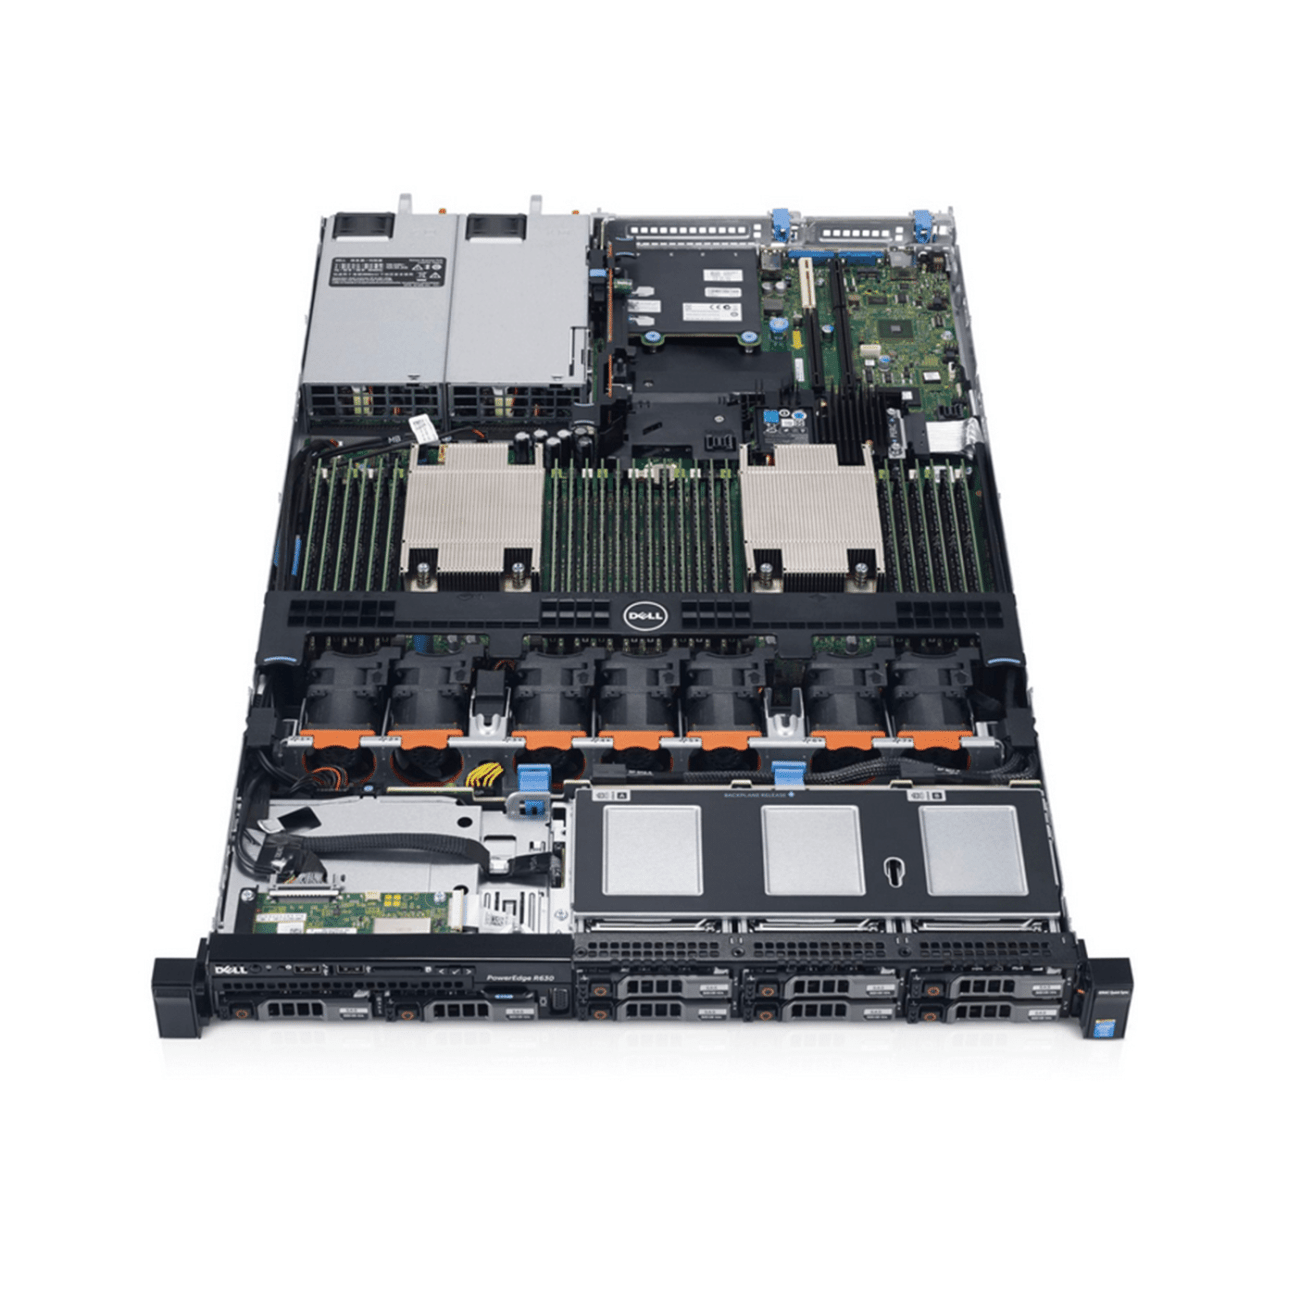 The Dell PowerEdge R630 is a dual-socket, 1U rack server designed for performance and scalability. It features:
- Intel Xeon E5-2600 v3/v4 processors
- Up to 768GB DDR4 RAM
- Support for SSDs/HDDs with RAID via PERC controller
- iDRAC for remote management
This server is ideal for Proxmox thanks to its robust hardware and virtualization support (VT-x/VT-d).
☁ What is Proxmox VE?
Proxmox VE is an open-source server virtualization platform based on Debian. It integrates:
- KVM (Kernel-based Virtual Machine)
- LXC (Linux Containers)
- Web-based management UI
- ZFS support
- High availability clustering and backup solutions
It’s a great alternative to VMware ESXi and perfect for managing virtual machines and containers.
🪛 Prerequisites
Before starting:
- ✅ USB drive (4GB+)
- ✅ Latest Proxmox VE ISO from proxmox.com
- ✅ iDRAC access or physical console
- ✅ Internet connection
- ✅ Backup existing data on the server
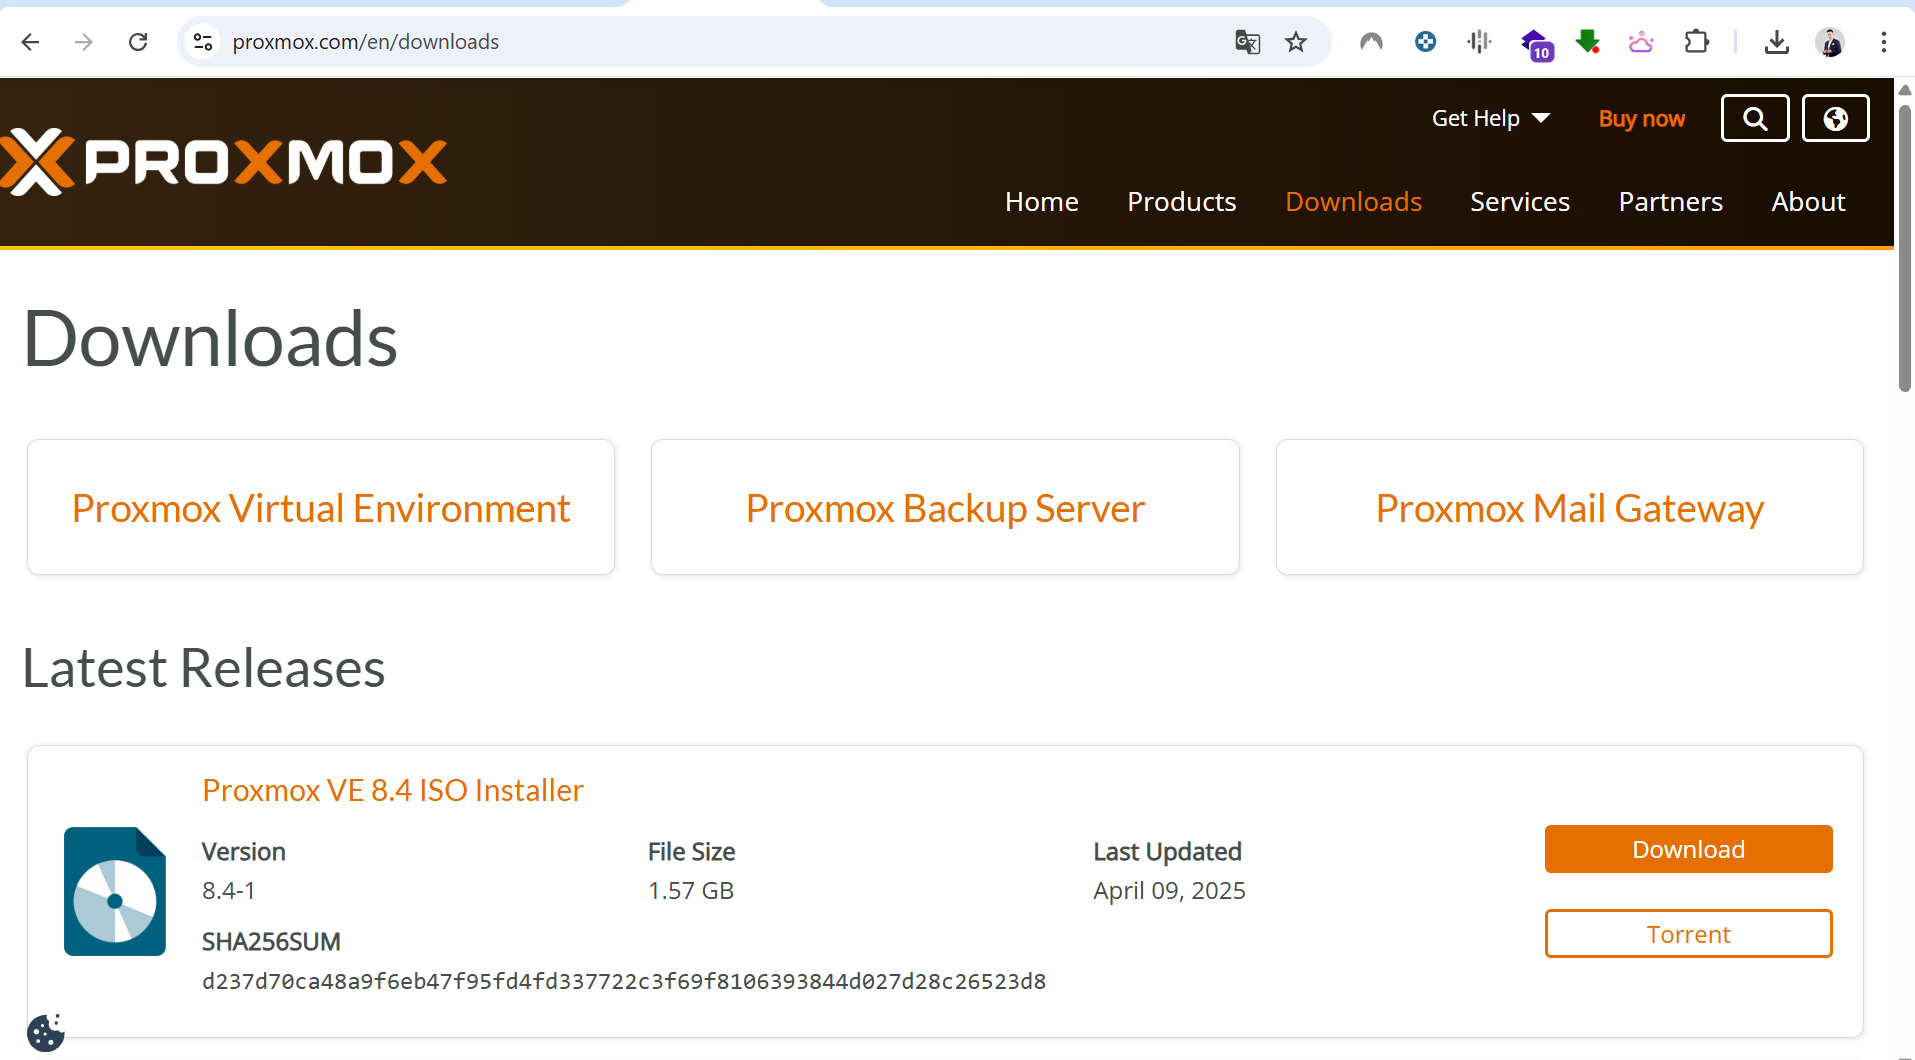
📥 Step 1: Prepare Installation Media
- Download the latest Proxmox VE ISO from: https://www.proxmox.com/en/downloads
- Use balenaEtcher or Rufus to flash the ISO to a USB stick.
🖧 Step 2: Access the Server via iDRAC or Console
- Connect to iDRAC using its IP address in a browser.
- Mount the ISO using the Virtual Media feature (or insert the physical USB).
- Reboot the server and access BIOS (F2) or Boot Menu (F11).
🔁 Step 3: Configure BIOS Settings (Optional but Recommended)
- Enable Virtualization Technology (VT-x/VT-d)
- Set Boot Mode to UEFI
- Disable Secure Boot (recommended for compatibility)
- Save and Exit
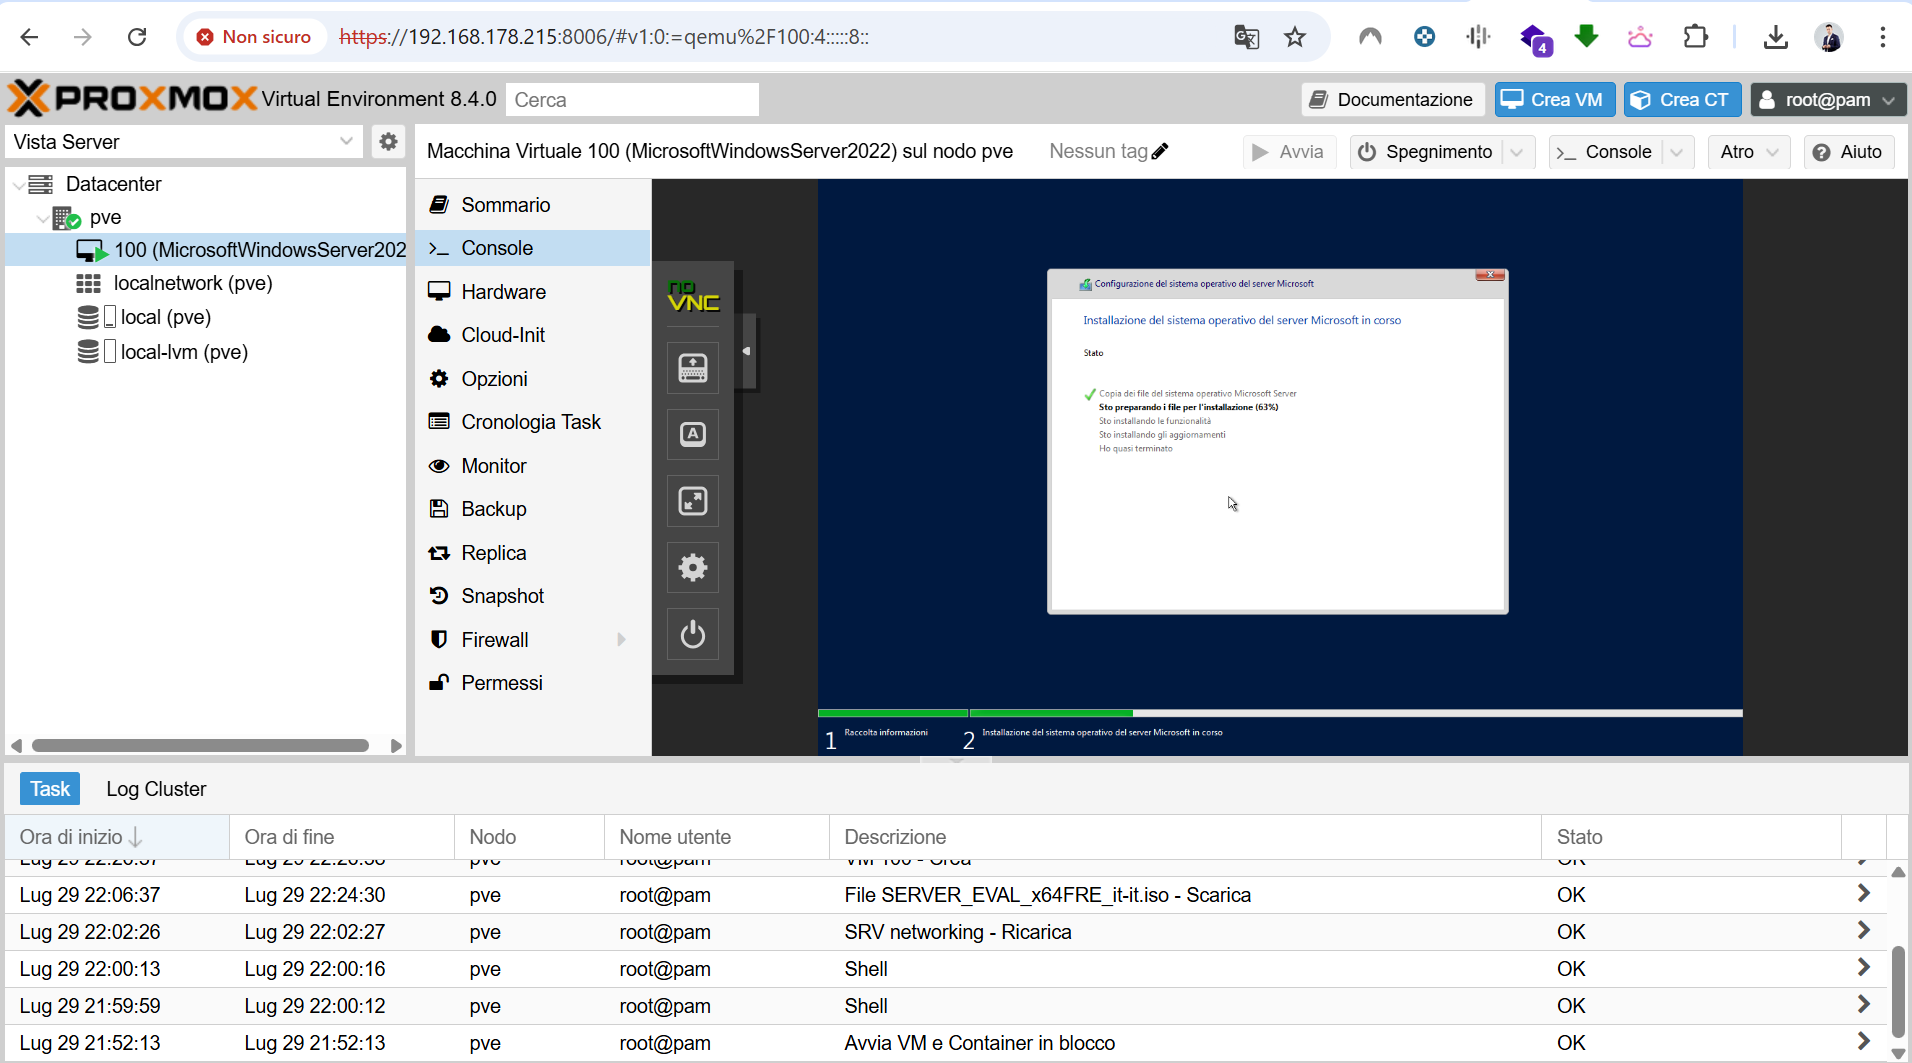
💽 Step 4: Boot and Install Proxmox
- Boot from the USB or mounted ISO.
- Select Install Proxmox VE from the menu.
- Accept the EULA and choose the target drive (e.g.,
/dev/sda) - Set:
- Country/Timezone/Keyboard Layout
- Admin Password and Email
- Hostname and network config (Static IP recommended)
- Click Install and wait for the process to complete (~5-10 minutes).
🌐 Step 5: First Access to Web UI
After reboot, access the Proxmox Web UI at:
1
https://<your-proxmox-ip>:8006
Login with:
- Username:
root - Password: the one set during install
- Username:
⚙ Post-Install Recommendations
- Update system:
apt update && apt full-upgrade - Add subscription-free repo (if using without license)
- Enable ZFS if needed for storage pools
- Set up backups and storage via Web UI
- Create VM or LXC containers
📌 Notes
- Dell RAID: You may need to configure the RAID controller in HBA or RAID mode beforehand.
- FAN noise: Update iDRAC and BIOS to reduce fan noise when running Linux OS.
✅ Conclusion
 Your Dell PowerEdge R630 is now running Proxmox VE, ready to host your virtual machines or containers. This setup provides a solid foundation for homelab, virtualization, or even production workloads.