Installing Windows Server 2022 on Proxmox VE – Step-by-Step Guide
🪟 Introduction
In this guide, we’ll walk through the complete installation of Microsoft Windows Server 2022 on Proxmox VE. This guide assumes you have a working Proxmox VE installation and want to create a virtual machine for Windows Server.
💾 Step 1: Download Windows Server 2022 ISO
Visit the official Microsoft evaluation center: 👉 https://www.microsoft.com/en-us/evalcenter/evaluate-windows-server-2022
Choose ISO format and fill in the required details (you can use temporary information).
Download the ISO on your local machine.
📤 Step 2: Upload ISO to Proxmox
- Login to your Proxmox Web UI at:
1
https://<your-proxmox-ip>:8006
Select the Datacenter → Node → local (or local-lvm) → ISO Images.
- Click Upload, browse to the downloaded
Windows_Server_2022.isofile, and upload it.
🖥️ Step 3: Create a New VM
- Click Create VM (top right corner).
- Fill out:
- VM ID and Name (e.g.,
windows2022)
- VM ID and Name (e.g.,
- Under OS, choose:
- Use CD/DVD disc image file (iso)
- Select the Windows Server 2022 ISO
- Guest OS Type:
Microsoft Windows - Version:
2022
- Under System:
- Set BIOS to OVMF (UEFI)
- Enable QEMU Guest Agent
- Machine:
q35
- Under Hard Disk:
- Bus/Device:
VirtIO - Disk size: at least
60GB
- Bus/Device:
- Under CPU:
- Sockets:
1 - Cores:
4(or more depending on your host)
- Sockets:
- Under Memory:
- Assign at least
4096 MBof RAM
- Assign at least
- Under Network:
- Model:
VirtIO (paravirtualized)
- Model:
📥 Step 4: Add VirtIO Drivers (Recommended)
To allow Windows to detect the disk and network adapter, you must also mount the VirtIO drivers ISO:
Download the VirtIO Windows Drivers ISO from: 👉 https://fedorapeople.org/groups/virt/virtio-win/direct-downloads/
Upload the
virtio-win.isoto the same ISO Images section.In the VM Hardware tab, click Add → CD/DVD Drive, select virtio-win.iso.
🔧 Step 5: Start the VM and Begin Installation
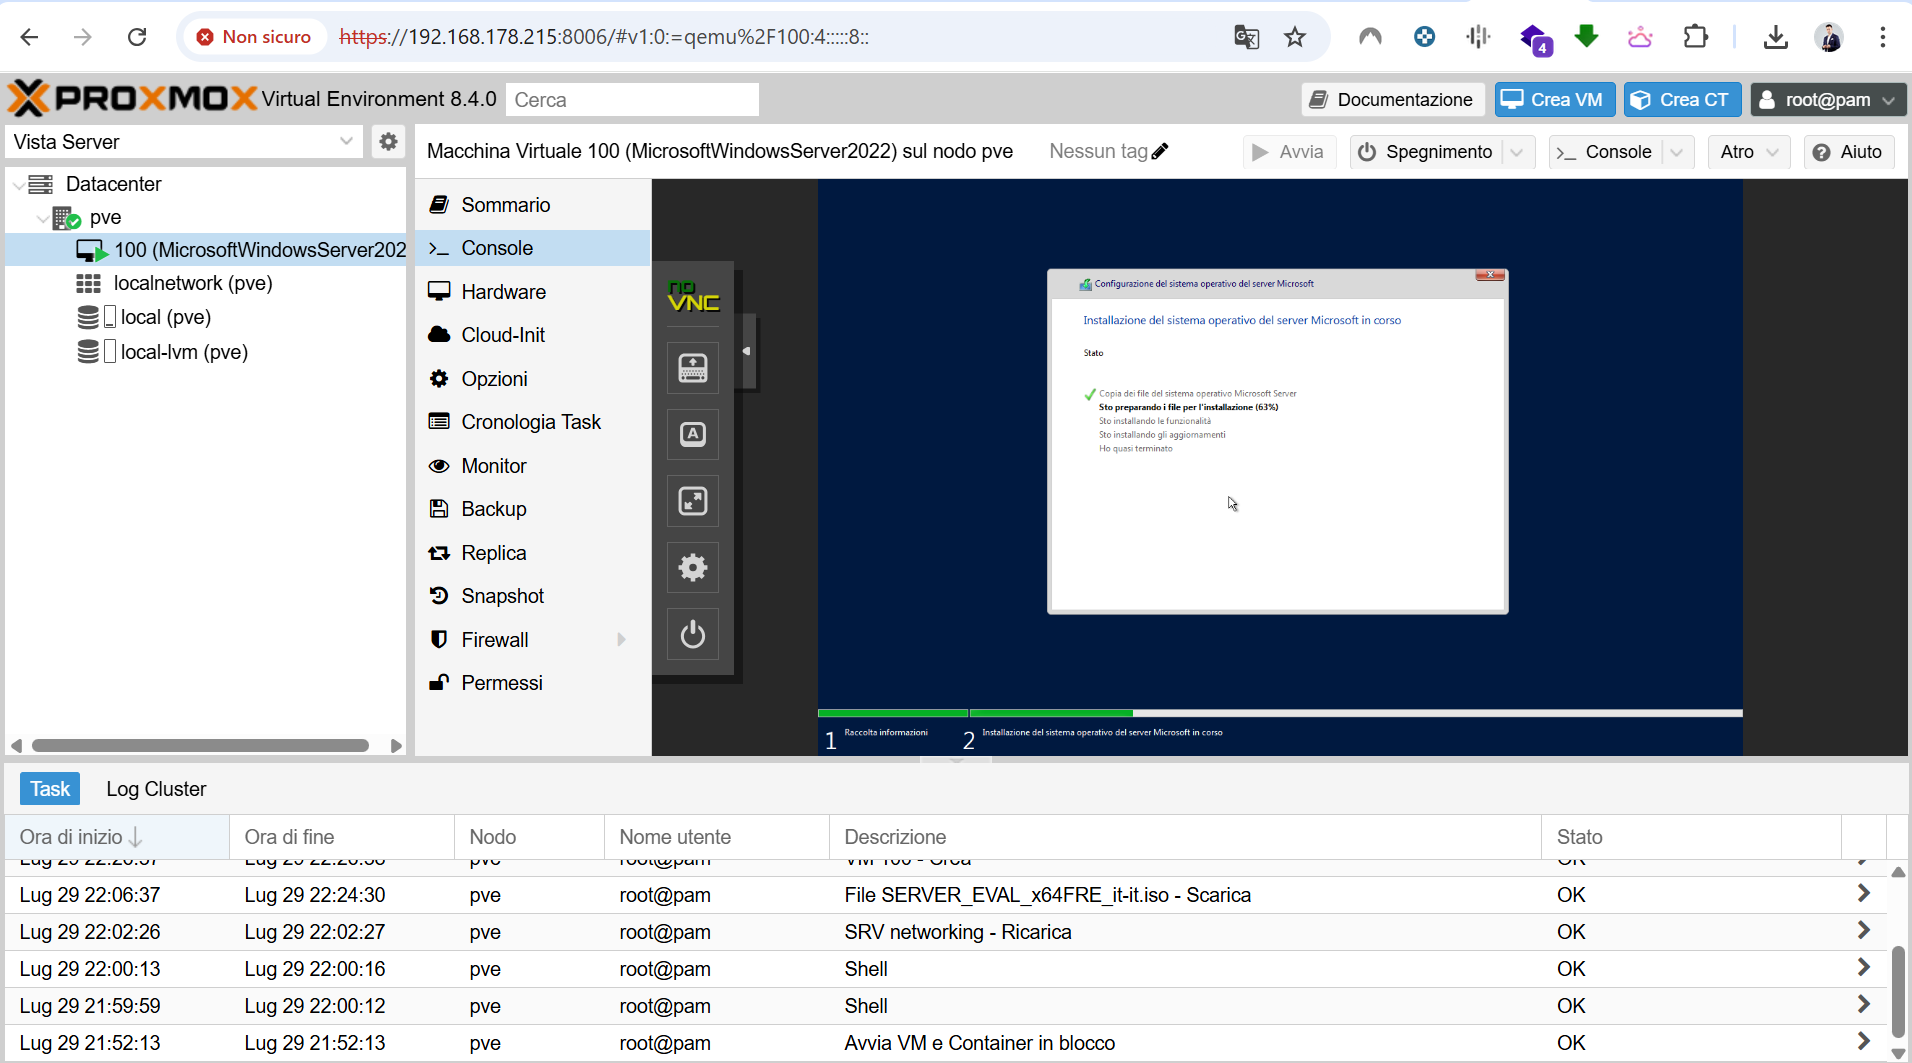
- Start the VM and open the Console.
- Follow the Windows installation wizard:
- Choose Custom: Install Windows only
- Click Load driver when no disks are found
- Browse to virtio driver CD, select appropriate Windows 2022 → viostor driver
- Disk should now appear → proceed with installation
- After install, also install:
- NetKVM driver (for network)
- Balloon driver (for memory management)
🔄 Step 6: Post-Installation
After the system boots:
- Install QEMU Guest Agent from virtio CD
- Update Windows Server via Windows Update
- Activate your license if needed
- Set static IP and domain role (if applicable)
📌 Final Recommendations
- Backup VM regularly
- Enable snapshots for testing
- Monitor system usage from Proxmox interface
- Consider adding TPM if required by your application
✅ Conclusion
Your Windows Server 2022 VM is now running smoothly on Proxmox VE. This setup is great for testing, Active Directory labs, or production environments.