Installing Proxmox VE on Dell PowerEdge R630: Step-by-Step Guide
Introduction
This guide walks through the installation of Proxmox Virtual Environment on a Dell PowerEdge R630, a compact and powerful 1U server that is well suited for virtualization labs, cybersecurity test environments, and small infrastructure workloads.
The objective is to provide a clean installation path and a set of practical post-installation recommendations.
About the Dell PowerEdge R630
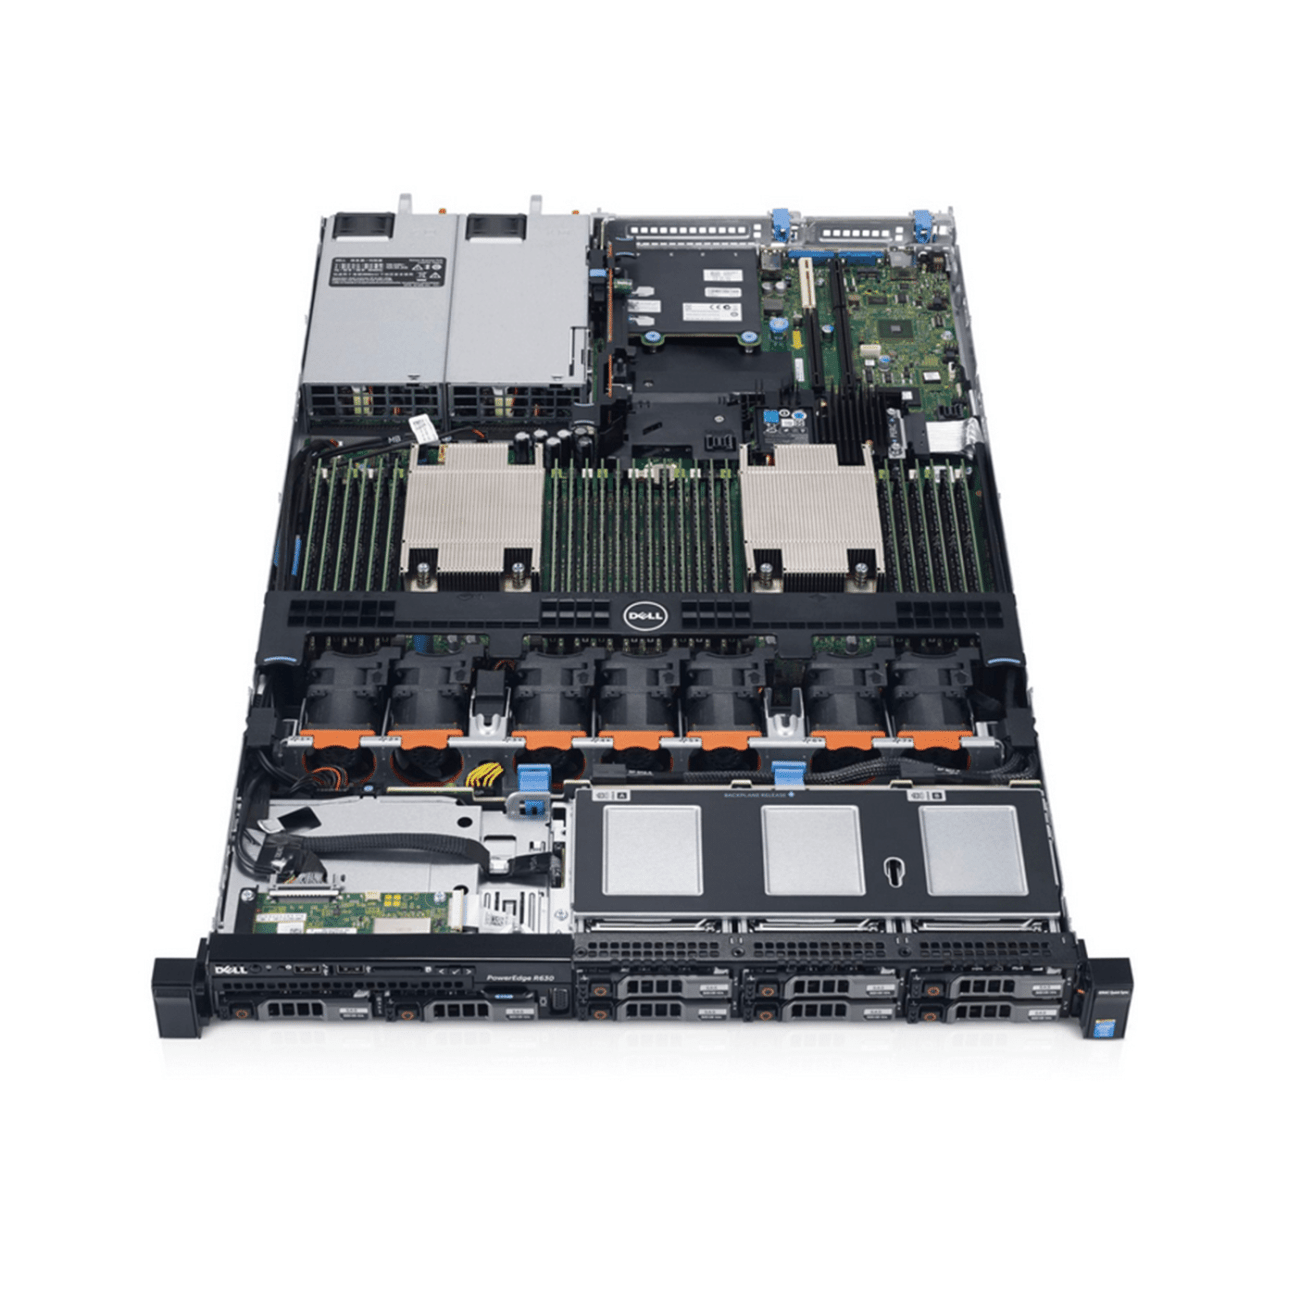
The Dell PowerEdge R630 is a dual-socket 1U rack server designed for performance and scalability. Depending on configuration, it supports:
- Intel Xeon E5-2600 v3/v4 processors;
- large DDR4 memory configurations;
- SSD/HDD storage with PERC RAID controller support;
- iDRAC for remote management;
- hardware virtualization features such as VT-x and VT-d.
These characteristics make it a strong platform for Proxmox-based labs and virtualized workloads.
What Is Proxmox VE?
Proxmox VE is an open-source virtualization platform based on Debian. It integrates:
- KVM for virtual machines;
- LXC for containers;
- a web-based management interface;
- ZFS support;
- clustering and high availability features;
- integrated backup and restore capabilities.
It is often used as an alternative to VMware ESXi in homelab and professional environments.
Prerequisites
Before starting, prepare the following:
- USB drive with at least 4 GB of space;
- latest Proxmox VE ISO from proxmox.com;
- iDRAC access or physical console access;
- network connectivity;
- backup of any existing data on the server.
Step 1: Prepare the Installation Media
Download the latest Proxmox VE ISO from the official website:
https://www.proxmox.com/en/downloads
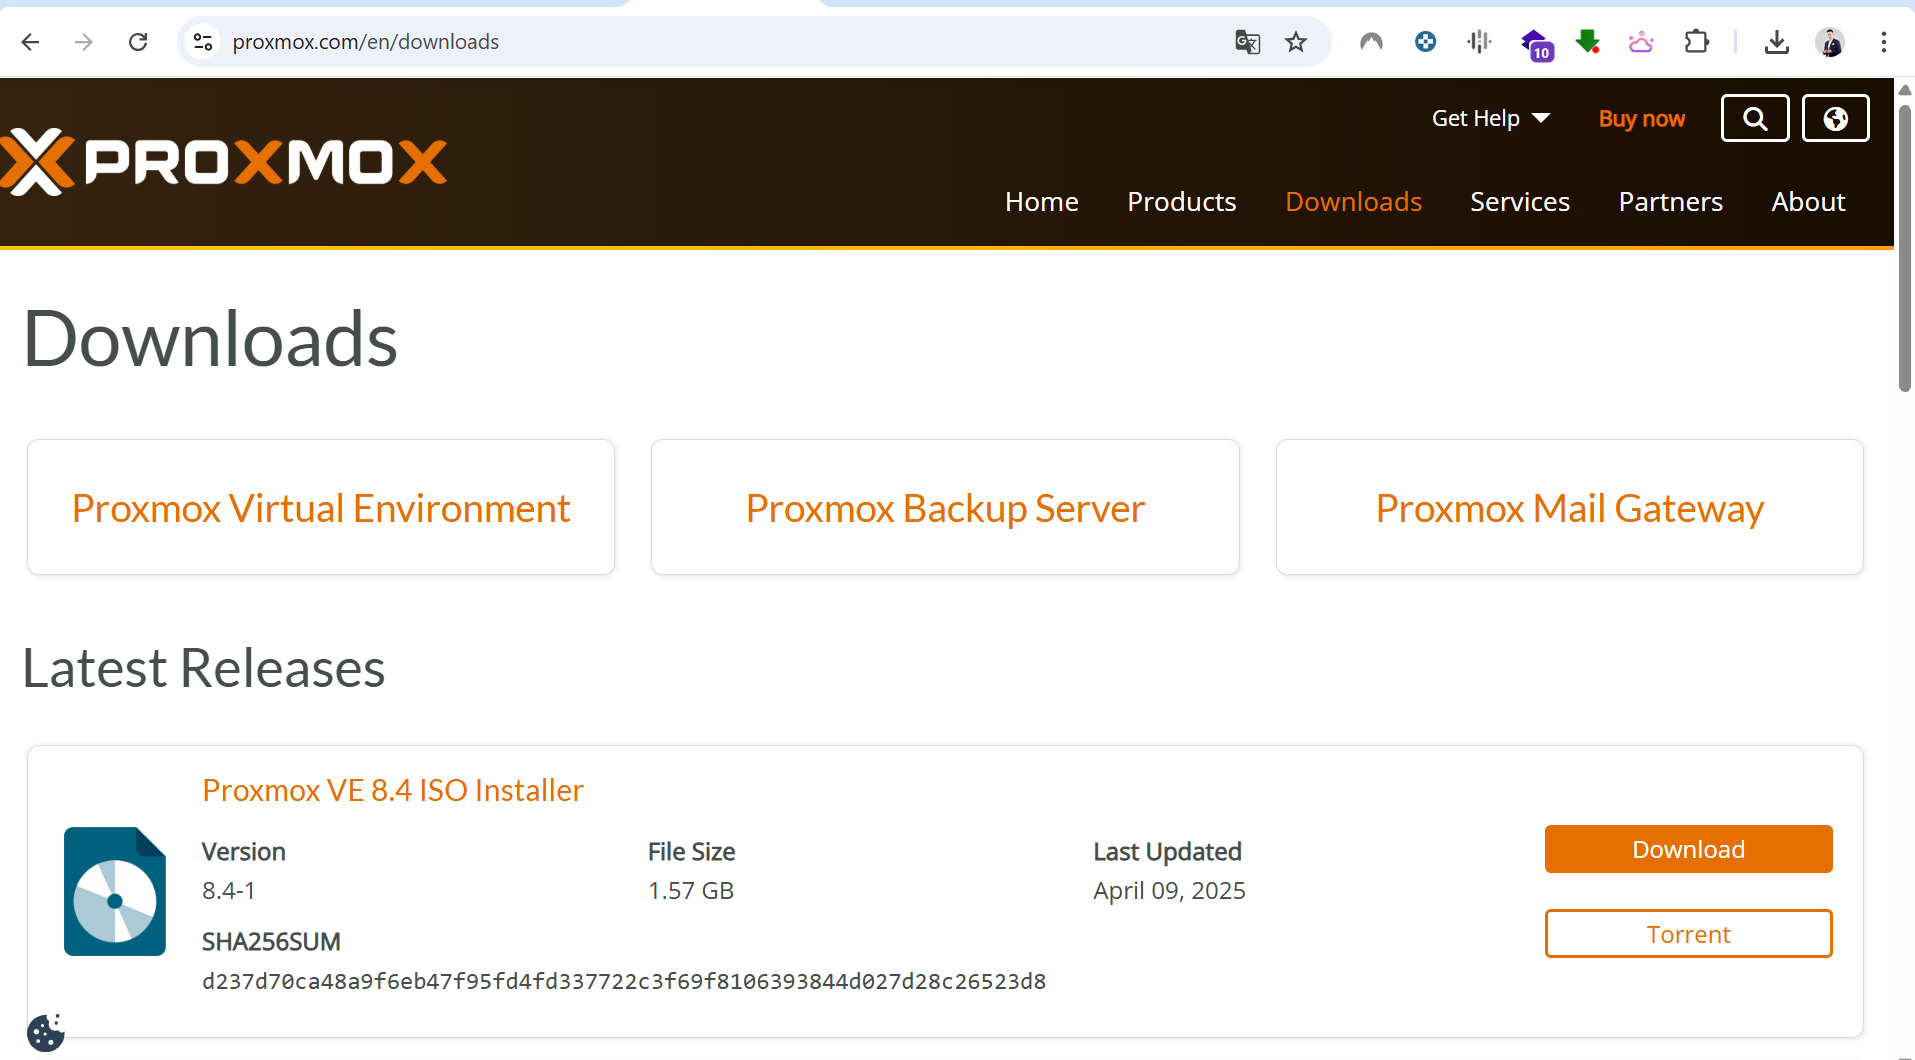
Use a tool such as balenaEtcher or Rufus to write the ISO to a USB drive.
Step 2: Access the Server
- Connect to iDRAC through the management IP address, or use a physical console.
- Mount the ISO through the Virtual Media feature, or insert the prepared USB drive.
- Reboot the server and open the BIOS setup with
F2or the boot menu withF11.
Step 3: Configure BIOS Settings
Recommended BIOS settings include:
- enable Intel Virtualization Technology;
- enable VT-d if PCI passthrough is required;
- use UEFI boot mode;
- disable Secure Boot if compatibility issues occur;
- verify storage controller configuration before installation.
Save the configuration and reboot.
Step 4: Install Proxmox VE
- Boot from the USB drive or mounted ISO.
- Select Install Proxmox VE.
- Accept the license agreement.
- Select the target disk.
- Configure country, timezone, and keyboard layout.
- Set the administrator password and email address.
- Configure hostname and network settings. A static IP address is recommended.
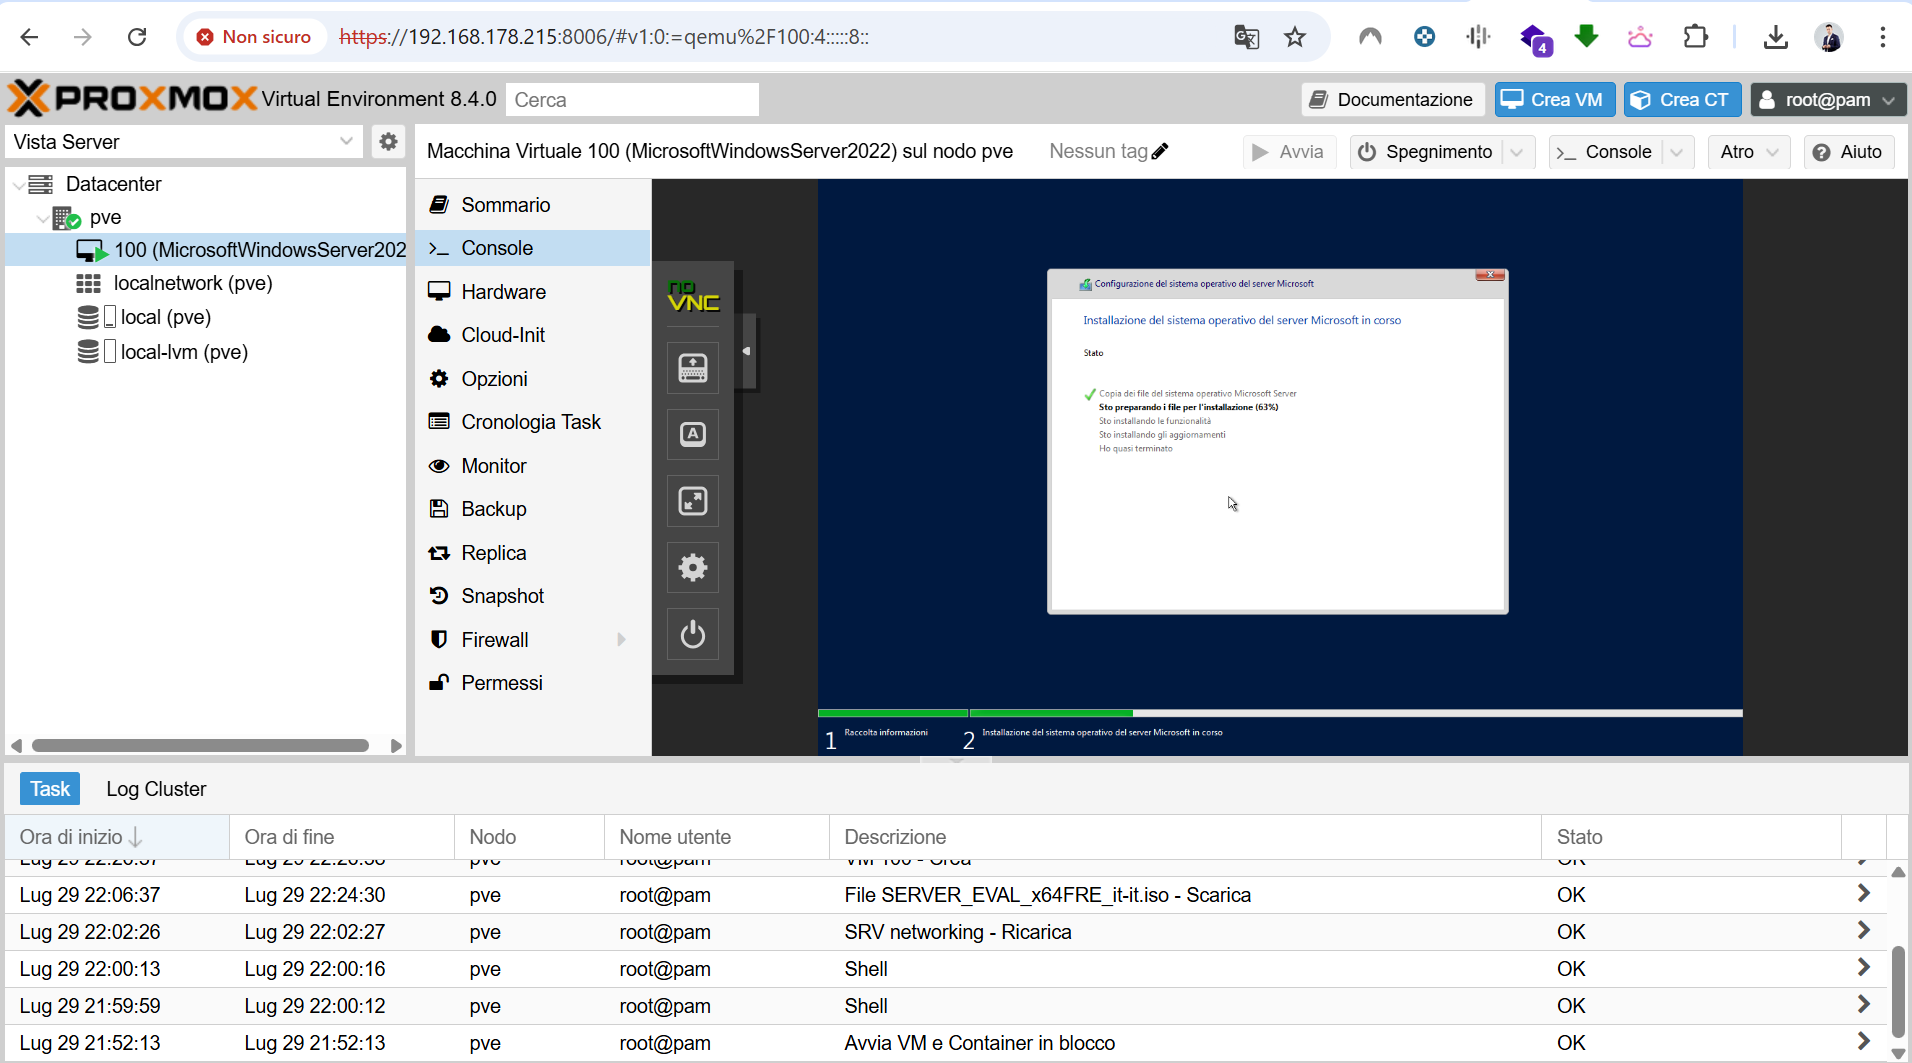
- Start the installation and wait for completion.
The installation normally takes a few minutes, depending on the storage configuration.
Step 5: First Web Interface Access
After the reboot, access the Proxmox web interface at:
1
https://<your-proxmox-ip>:8006
Login with:
- Username:
root - Password: the password configured during installation
Post-Installation Recommendations
After the first login, consider the following actions:
- update the system with
apt update && apt full-upgrade; - configure the subscription-free repository if no enterprise subscription is used;
- review storage configuration;
- configure backups;
- create a dedicated bridge/network configuration if required;
- update BIOS, iDRAC, and firmware where appropriate.
Notes
Dell RAID configuration should be reviewed before installation. Depending on the intended use, the server may require HBA mode, hardware RAID, or ZFS-friendly disk presentation.
Fan noise can also depend on firmware versions and hardware configuration. Keeping BIOS and iDRAC updated can help improve hardware behavior under Linux-based systems.
Conclusion
A Dell PowerEdge R630 running Proxmox VE provides a solid foundation for virtualization, homelab experimentation, cybersecurity labs, and small production workloads. With proper network, storage, and backup configuration, it can become a reliable platform for both learning and operational use.