Installing Windows Server 2022 on Proxmox VE: Step-by-Step Guide
Introduction
This guide explains how to install Microsoft Windows Server 2022 on Proxmox VE. It assumes that Proxmox is already installed and accessible through the web interface.
The objective is to create a Windows Server virtual machine with the correct disk, network, and VirtIO driver configuration.
Step 1: Download the Windows Server 2022 ISO
Visit the Microsoft Evaluation Center:
https://www.microsoft.com/en-us/evalcenter/evaluate-windows-server-2022
- Select the ISO format and complete the required form.
- Download the ISO to your local machine.
Step 2: Upload the ISO to Proxmox
Log in to the Proxmox web interface:
1
https://<your-proxmox-ip>:8006
- Select Datacenter → Node → local → ISO Images.
- Click Upload and select the Windows Server 2022 ISO.
Step 3: Create a New Virtual Machine
- Click Create VM.
- Define the VM ID and name, for example
windows2022. - In the OS tab:
- choose Use CD/DVD disc image file;
- select the Windows Server 2022 ISO;
- set the guest OS type to Microsoft Windows;
- select version 2022.
- In the System tab:
- set BIOS to OVMF (UEFI);
- enable QEMU Guest Agent;
- use machine type
q35.
- In the Hard Disk tab:
- select VirtIO as bus/device;
- allocate at least 60 GB of disk space.
- In the CPU tab:
- assign at least 4 cores, depending on the host resources.
- In the Memory tab:
- assign at least 4096 MB of RAM.
- In the Network tab:
- choose VirtIO (paravirtualized) as the network model.
Step 4: Add VirtIO Drivers
Windows Server may not detect the virtual disk or network adapter without VirtIO drivers.
Download the VirtIO Windows driver ISO:
https://fedorapeople.org/groups/virt/virtio-win/direct-downloads/
- Upload
virtio-win.isoto the ISO Images section in Proxmox. - Open the VM Hardware tab.
- Add a second CD/DVD drive and mount the VirtIO ISO.
Step 5: Start the VM and Install Windows
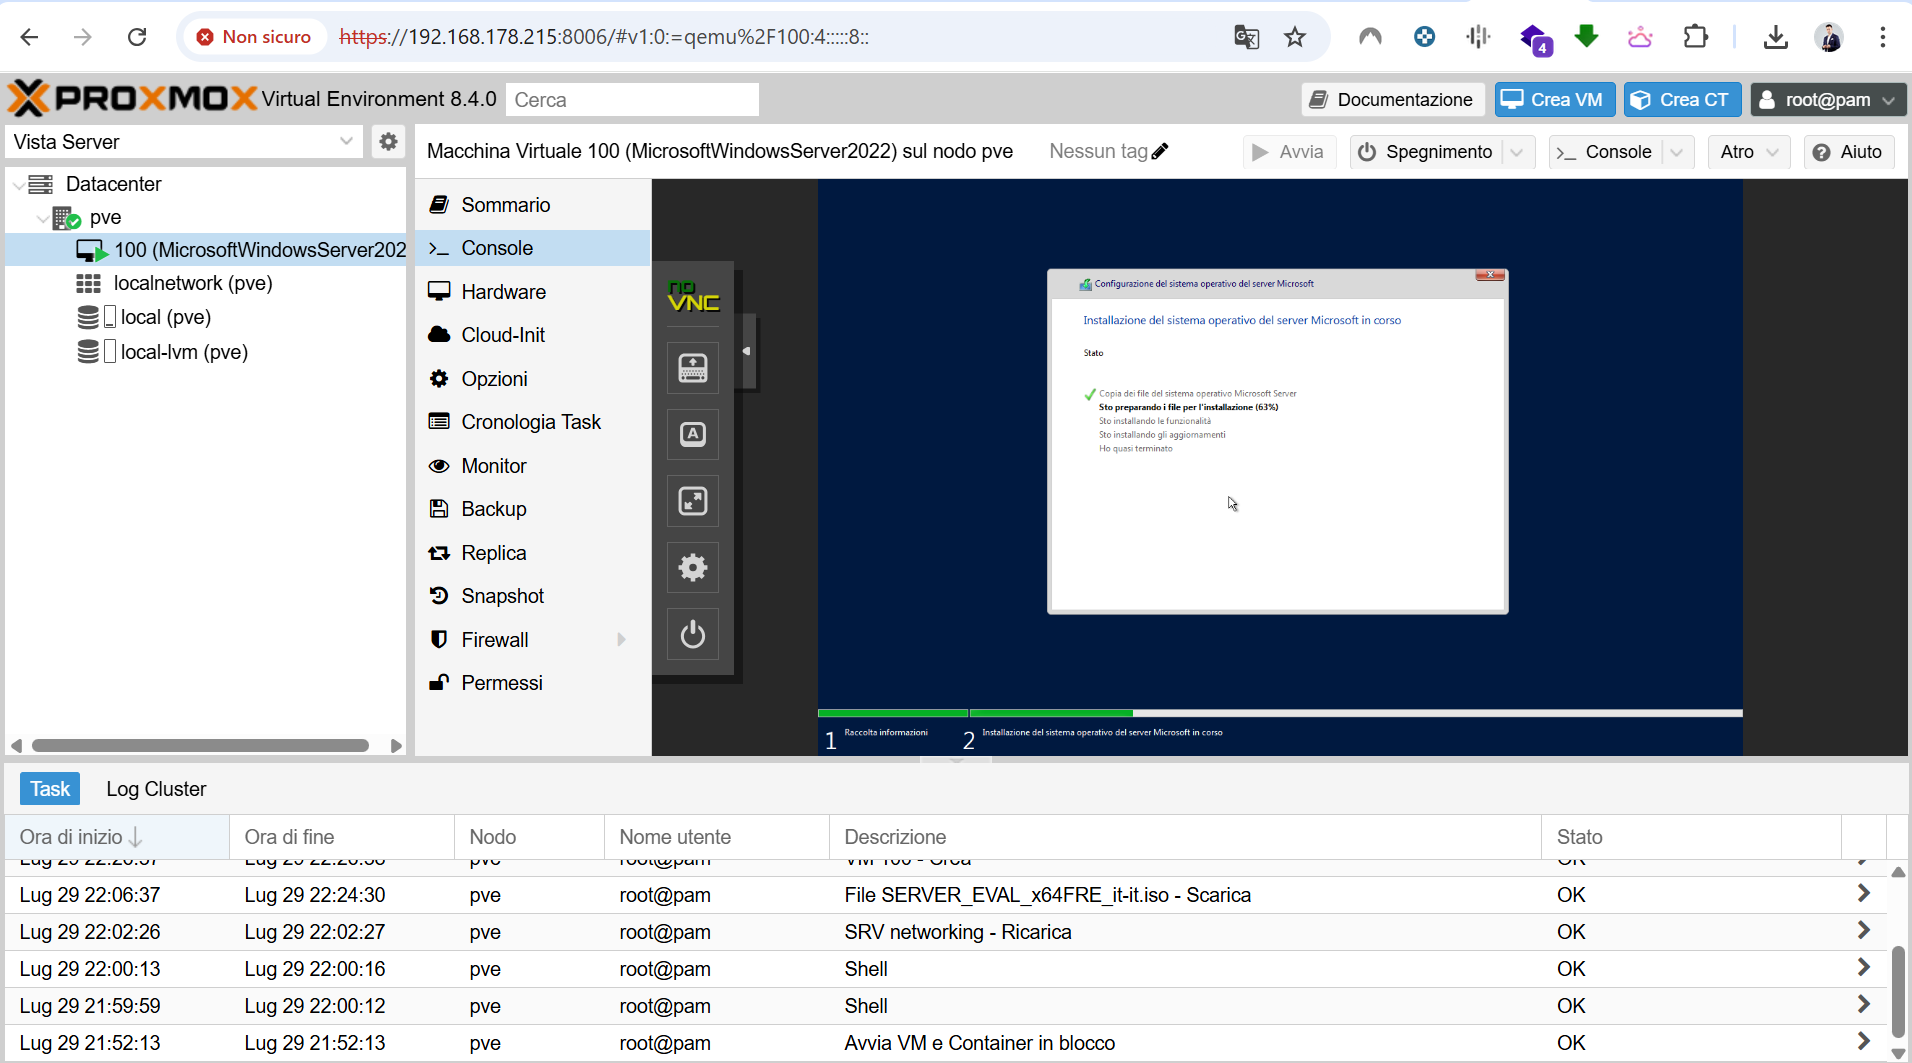
- Start the VM and open the console.
- Follow the Windows installation wizard.
- Choose Custom: Install Windows only.
- If no disk is displayed, click Load driver.
- Browse the VirtIO driver ISO and select the appropriate Windows Server 2022 storage driver.
- Once the disk appears, continue the installation.
After installation, install the additional VirtIO components, including:
- NetKVM driver for networking;
- Balloon driver for memory management;
- QEMU Guest Agent.
Step 6: Post-Installation Tasks
After the first boot:
- run Windows Update;
- install the QEMU Guest Agent service;
- configure static IP addressing if required;
- activate the license where applicable;
- apply security baselines;
- configure backup and snapshot policies in Proxmox.
Final Recommendations
For lab environments, snapshots are useful before major configuration changes. For production workloads, snapshots should not replace a proper backup strategy.
It is also recommended to monitor CPU, memory, and disk usage from the Proxmox interface and to adjust resources according to the workload.
Conclusion
Windows Server 2022 can run effectively on Proxmox VE when the virtual hardware and drivers are configured correctly. This setup is suitable for Active Directory labs, application testing, training environments, and selected production workloads.